


I have previously written about choosing a portable solar panel and reviewed both fixed and portable solar panels, but until now, I have never reviewed what is commonly referred to in Australia as a solar blanket. Now, I’ve tested the OptiSolex 440W SolarBag and can give you the positives and the negatives.
As a quick refresher, a fixed solar panel is usually mounted in an aluminium frame and is typically positioned horizontally on the roof of a Caravan or 4WD. A portable panel is rigid but folds up and includes a kickstand to angle it towards the sun more effectively. A blanket also folds up, but is more flexible in construction and lacks an included mechanism to point in the sun’s direction.
I have previously demonstrated that angling a panel towards the sun, rather than keeping it horizontal, can increase output by up to 50%. The time of year and latitude of your location will also affect the output of your panel in full sun. For example, winter in Tasmania has a far lower output than summer in Cairns.
How much do solar blankets cost compared to panels?
Broadly speaking, here’s how much you’re looking at for common types of solar products:
- A fixed solar panel for an RV will cost you $300-$600 and weighs approximately 20kg
- A portable panel costs $1,300 and weighs around 15kg
- An OptiSolex SolarBag costs upwards of $700 and weighs 7.8kg
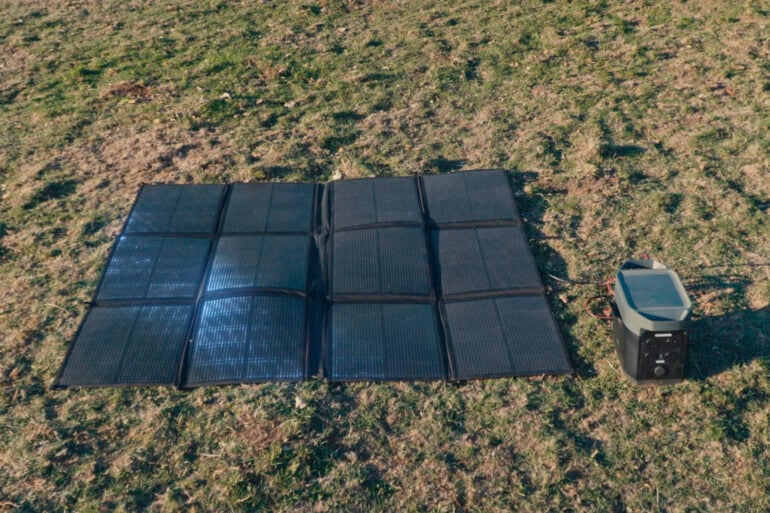
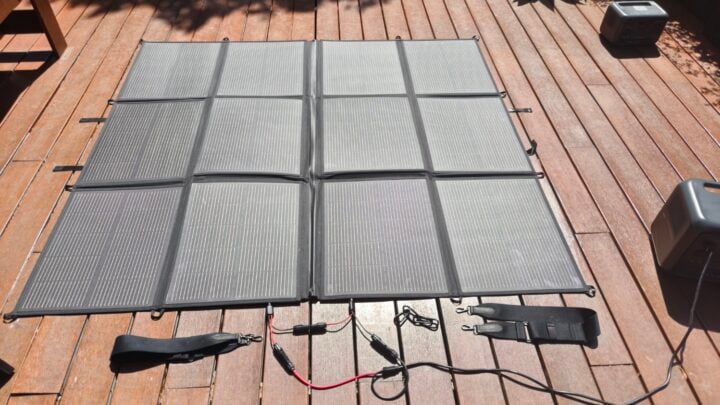
Not only is the OptiSolex great value, but it is also portable and weighs significantly less. When you have to move panels around, weight counts, as does the cumulative total of all the stuff you put in your RV or caravan. The folded size is 54 x 44 x 12 cm, and the operational size is 170 x 160 cm.

The OptiSolex has no built-in stand but comes with two carry straps, which, when combined with the four supplied D shackles, allow for some mounting options. You can lie it on the ground or on the bonnet/front window of your car, or use your bush skills to hang it up from tent poles.
Having your panel in full sun all day is key to maximising your solar charge. Movable panels mean you can easily adjust their position to avoid shade. I was surprised to find that the blanket tested at 10 AM in Sydney during September yielded 280W when lying flat, versus 300W when angled towards the sun. That was only a 7% difference.
At midday, that difference with the sun overhead no longer existed. Remember, just because a panel says it can do 400W does not mean that is what you will get. In winter, I expect to receive 50% (200W in this example) of the rated output of my panels at midday.
To charge a battery from a solar panel, you need an MPPT (Maximum Power Point Tracker). Most caravans and portable power stations already have an MPPT, allowing the OptiSolex to plug directly into an MC4 connector or adapter cable.
OptiSolex offers a kit that includes an S1 Controller (MPPT), enabling direct connection to batteries. The S1 will automatically adjust to 12, 24, or 48V batteries, and the unit is IP68 waterproof. The unit is highly efficient and is 1/6 the size of comparable products, so it easily fits in the solar blanket pocket.
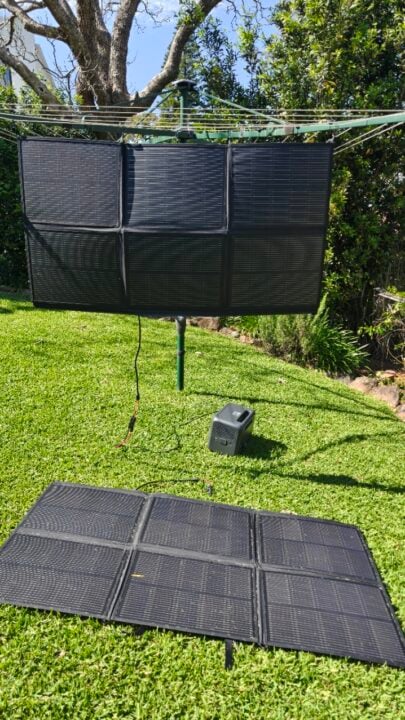
Splitting the OptiSolex SolarBag in two
A feature that further enhances this solar solution is the ability to unzip the centre of the blanket, creating two 220W solar blankets. It provides more options to charge smaller devices, chase the sun, and be in two places at once.
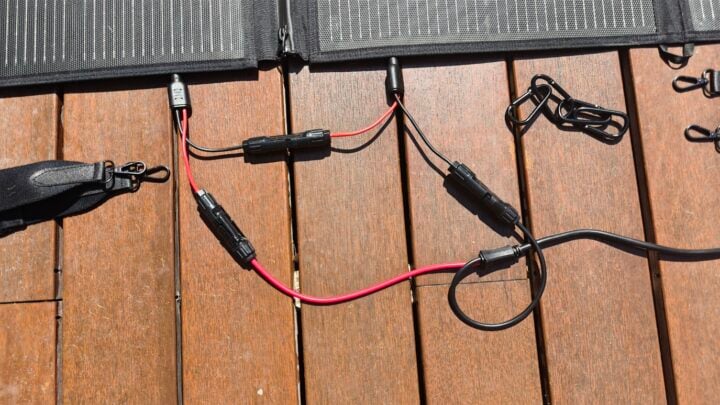
Each 220W panel also features three USB ports (2 x USB-A and 1 x USB-C, up to 45W), allowing you to charge smartphones and other devices directly from the panel. An iPhone can be charged to 80% in 45 minutes. Each 220W module has its own set of MC4 cables, which can be used to charge individually or connected in series to increase the overall charging ability. Always check the device you will charge to ensure it can accept a 440W input of 42V or a 220W input of 21V at 11.1A.
The OptiSolex is waterproof, has a strong construction and can be carried on your back like a backpack. This, combined with a three-year warranty, gives you peace of mind when using it to power your off-grid setup. At least assuming the sun is shining. You will get some power when it is cloudy, but not much.
Reading the fine print, I discovered that OptiSolex only recommends a 2m extension cable. In my experience, 5m is the minimum distance to avoid shade and maximise output during the day. This cable must be purchased separately, and I recommend using a heavier gauge cable for longer runs to minimise voltage loss. The MC4 cables built into the panels themselves do work, but again, I would have liked to have seen these a little longer, as they only just reach the extremity of the panel.
My takeaway from this product is the weight saving. I have used 200W panels in the past, but I found them to be insufficient. 400W panels are heavy, and the OptiSolex SolarBag addresses this issue. Combined with the excellent performance whilst lying horizontal on the ground, I have found a much better solution for my setup.
The post This solar blanket can split in two to provide maximum power appeared first on GadgetGuy.
0 (mga) komento:
Mag-post ng isang Komento