


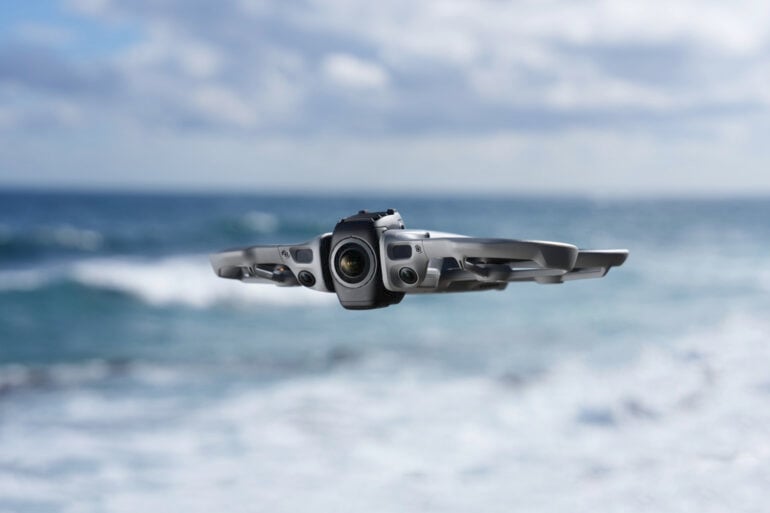
Let me put it out there upfront: this is a different sort of camera drone. I have suffered from muscle memory with this new DJI Avata 360 drone compared to my regular drive of a DJI Mini. More on that later.
360-degree cameras are not new; they have been around for a decade. They haven’t really taken off yet, but they can now, literally! Indeed, DJI has strapped one to a drone. I recently took the DJI Avata 360 drone for a spin to see how it handles Australian conditions.
Table of contents
- How does a 360-degree camera work?
- Features
- Specifications and price
- Using the DJI Avata 360
- Who is the DJI Avata 360 for?
How does a 360-degree camera work?
In the camera world, when talking about a lens, its ability to see what is in front of it is measured in degrees from side to side or top to bottom. Known as the ‘field of view’, it’s also commonly measured diagonally. If a lens can see from left to right or essentially everything in front of the camera, then the field of view would be 180 degrees. For comparison, a smartphone camera has a field of vision of 65 to 85 degrees. With two human eyes, we can see 180 to 210 degrees.
Back in the camera world, a fisheye lens can capture up to 200 degrees. If you use two fish-eye lenses opposite each other and some clever software to process the images of the two lenses, you can stitch together the two images to effectively make a 360-degree view.
A 360-degree image looks pretty funny when you represent it as a traditional photo. So, other than some fancy photography, what is the advantage of a 360-degree photo? Here, technology has taken another step forward, allowing the everyday user, through photo-editing software, to select an area from the all-around view and use that subset as the image they want to capture.
Think of it as a way to capture every angle of the action, just like at a football game, multiple cameras are used and pieced together to make a broadcast more interesting. Modern software can pick a subject, and no matter where that subject moves around the 360-degree camera, it will stay at the centre of the video being played back.
I cannot tell you if this will change how we use cameras and whether we all end up using 360-degree cameras. Still, technology has made it easy to capture every angle and extract the images we want, whether as a single image or a video.
We then strap this 360 camera to a drone, so you no longer need to worry about pointing the drone at the video subject, since everything around you is captured. With a traditional drone, you only get the shot if the drone and camera are pointing at the subject you want to capture.
DJI Avata 360 features
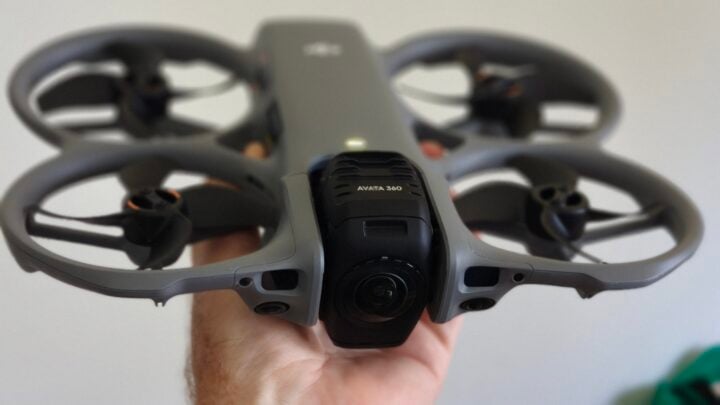
The DJI Avata 360 is a 360-degree 8K camera drone with up to 23 minutes of flight time and obstacle avoidance. The drone can be purchased in Australia as a drone-only model for $799, including one battery.
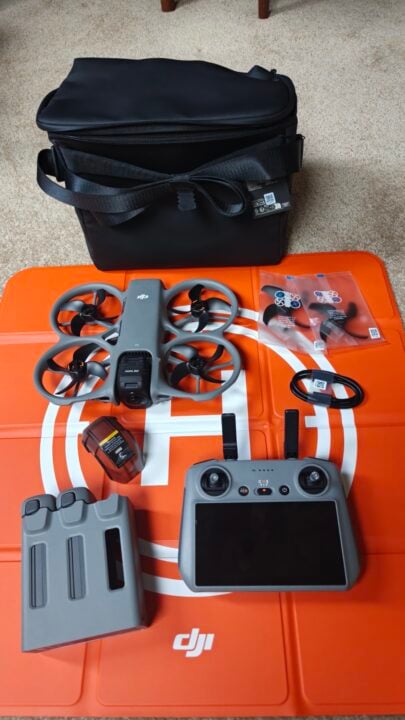
Other combos include the drone with the DJI RC 2 remote controller for $1,159, or the DJI Avata 360 Fly More Combo, which has the RC 2 controller, three batteries, a battery charging dock, and a bag to store everything for $1,619.
According to Australia’s civil aviation laws, you must be able to see a drone to fly it. So, although the remote control range is quoted as 20 km and the drone could fly 13.5 km on a single battery charge, legally, you’d probably be able to fly this drone a few hundred metres if you have good eyesight.
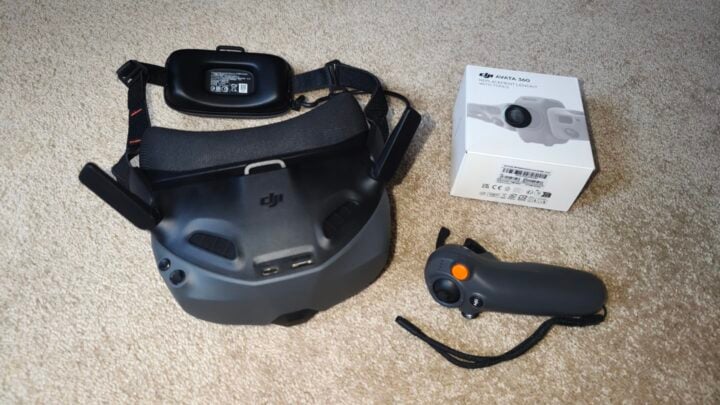
DJI also offers a fourth package, which includes the drone, three batteries, a battery dock, a bag, and goggles. These first-person view goggles have screens that block any external light. Using them, you see what the drone sees, and you fly in almost a virtual-reality environment. One problem is that in Australia, it is illegal to fly outdoors using the goggles. You can, however, use the goggles indoors.
The drone does not offer any zoom and instead records at up to 8K resolution using a one-inch sensor, capturing up to 60 frames per second, supporting High Dynamic Range (HDR). This means images are captured in super high definition, so if you want to zoom in, you can do so digitally during editing and still have a good image.
To protect your drone, the Avata incorporates DJI’s obstacle avoidance system, which works day and night and is especially useful when tracking a subject, such as a person jogging through the bush. Further peace of mind is provided by sturdy propeller guards built into the drone’s frame. For storage, a lens or gimbal protector is included, and if you damage a propeller, spare blades are included with each kit.
If you wish to use your drone in the traditional sense of one camera capturing what the drone is pointing at, that is also possible by switching from 360-degree mode to single-lens mode. In single-lens mode, resolution drops to 4K. Note that while the drone supports omnidirectional obstruction sensing and will avoid them in 360 mode, in single-lens mode, only obstructions in front will be avoided.
DJI Avata 360 specifications and price
| Camera resolution | 8K/60fps HDR Video |
| Fly time | 23 minutes |
| Field of view | 360 degrees |
| Dimensions | 25 x 20 x 56 cm 455g |
| Price (RRP) | From $799 |
| Website | DJI Australia |
| Warranty | 1 year |
Using the DJI Avata 360
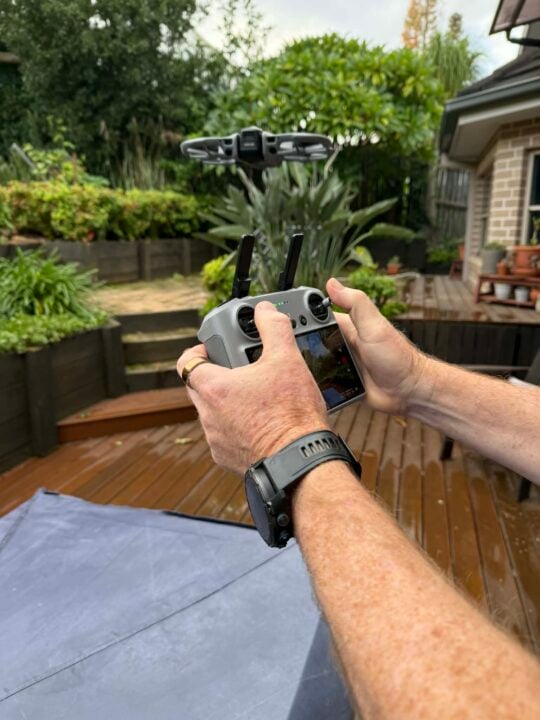
Flying this drone is almost identical to flying DJI’s other drones, using the preferred RC 2 controller with a built-in screen. Because of the ability to record 360-degree footage, you need to consider that the drone is catching all the action, so you need to do less maneuvering. Your flight time is also potentially shorter to capture all the images you want.
The drone certainly seems sturdier with the solid propeller guards, but the lens itself is prone to scratching, and any dust or water on the screen will degrade image quality. DJI sent me a replacement lens kit to demonstrate how easy it was to replace a lens, which is great, but it also suggests you will likely need to replace a lens during its life.
The Fly More packages come with an orange landing pad, which I also suggest using to help protect the lens. The use of the 360-degree image in obstacle avoidance also helps protect the drone from crashing, doing a better job than purely sensor-based drones. The forward-facing collision sensors are needed on the 360 to avoid collisions in low light when the camera system fails to correctly identify obstacles.
Compared to what I am used to, I found the 360 noisier to fly, drawing more attention to the drone. Editing will take longer unless you use the single lens function, which also lets you share an image without editing.
A handy new feature from DJI is a free mode function that lets you select an object on your RC 2 remote screen. When you come to edit, that selected subject is already the centre of your footage, speeding up the editing process. When you digitally zoom in on a subject, the more you zoom, the lower the resolution of the final output, which is a disadvantage compared to traditional drones with a zoomable lens. Having two cameras means the image needs to be stitched together.
Rarely, in some shots, I could see this stitch line, but halfway through testing, DJI released a software upgrade that greatly improved it. Expect further upgrades to continue to fix this.
Editing the footage is best done via the downloadable DJI Studio app on your PC. Alternatively, you can also use the editing function in the DJI Fly app for your smartphone. A neat feature of using your phone is that you can rotate it to adjust the image, essentially giving you a gimbal to select the view you want in your edited footage.
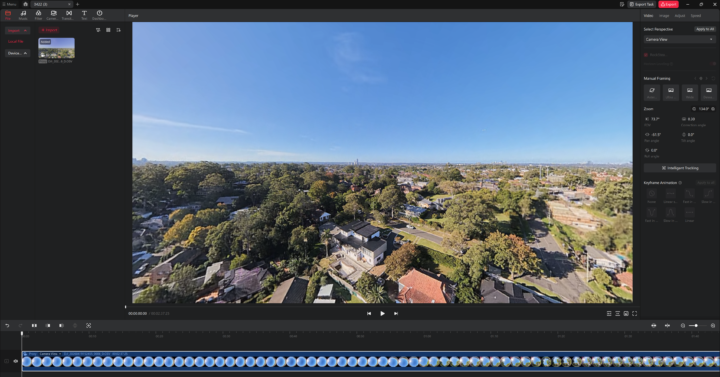
As an example of editing, I used DJI Studio’s Intelligent Tracking feature. Here, I selected a sailboat, and the software automatically kept it in the centre frame even as the drone flew up towards the sunset. After I released the tracking, the image returned to the direction the drone was actually flying. I could have selected anything in the 360-degree view and also zoomed in on it.
Whilst I did try the first-person view goggles when flying the drone inside my home, this is not an accessory I would advise for the everyday user, given its outdoor restrictions. You can get a special license to overcome this. I found it uncomfortable that I could not see the drone, only what it saw.
If you look at the DJI Avata 360 with the RC 2 controller, the Mini Pro 5 ($1,119) is priced very similarly in Australia. If I were to choose, I probably would stick with the Mini, as that is what I am used to. However, I would probably choose the Avata 360 if I were prepared to do more editing.
Who is the DJI Avata 360 for?
The DJI Avata 360 drone is for travellers, action adventurers, and creators who want to capture video in one take and decide on the framing of the final output during editing. With its advanced avoidance system, this drone is ideal for beginners.
I see this drone as ideal for capturing action sports with multiple participants, and by simply flying it amongst the action, you can pan between participants in editing.
The post DJI Avata 360 review: Smart drone that records all angles appeared first on GadgetGuy.
0 (mga) komento:
Mag-post ng isang Komento